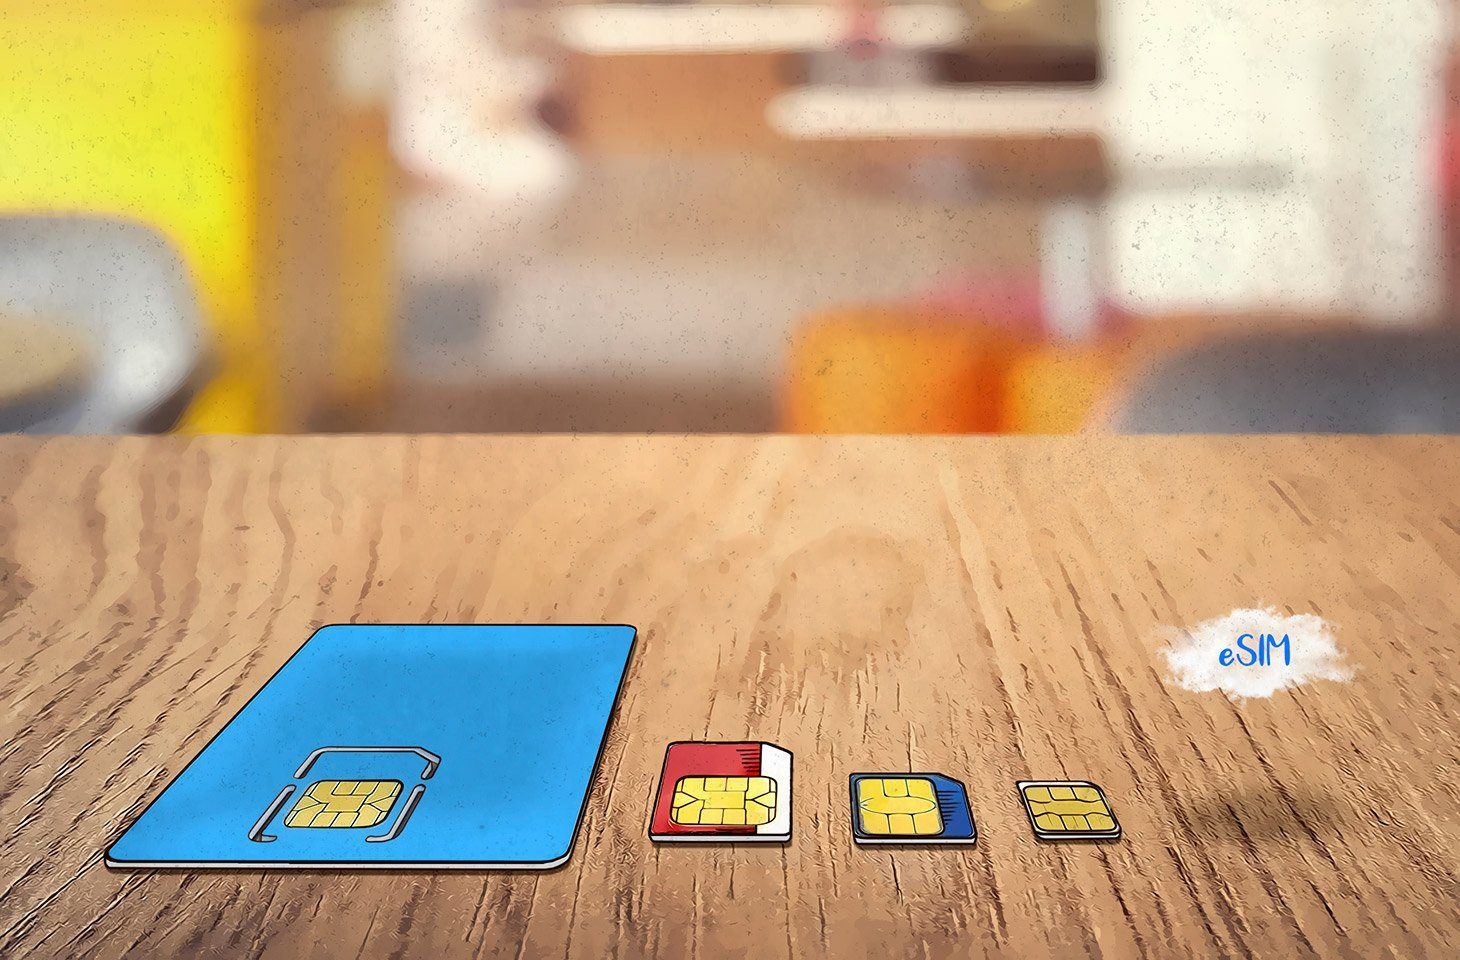
In the dynamic realm of telecommunications, the advent of eSIM technology has revolutionized the way we connect and communicate. Embedded SIM cards, or eSIMs, are a game-changer in the mobile industry, offering a more efficient and flexible approach to managing your mobile network subscriptions. In this article, we will delve into the workings of eSIMs, with a specific focus on the process of Airtel eSIM transfer and how to transfer eSIM from one phone to another.
Understanding eSIM Technology
An eSIM, or embedded SIM, is a digital SIM card embedded directly into a device’s hardware. Unlike traditional physical SIM cards, eSIMs eliminate the need for a physical card swap when changing mobile networks or devices. This technology is gradually becoming the industry standard, offering users greater convenience and flexibility.
eSIM Activation with Airtel
One of the major players in the telecom industry, Airtel, has embraced the eSIM technology, providing its customers with the option to transition seamlessly into the future. To initiate the process, visit your nearest Airtel store or use the Airtel Thanks app. Airtel has streamlined the activation process, ensuring a hassle-free experience for users keen on making the switch.
Step-by-Step Guide for Airtel eSIM Transfer:
Step 1: Visit the nearest Airtel Store or use the Airtel Thanks App
To embark on the journey of transferring your traditional SIM to an eSIM, start by visiting your nearest Airtel store. Alternatively, for a more convenient approach, use the Airtel Thanks app available on your smartphone.
Step 2: Verify Your Identity
Upon reaching the Airtel store or accessing the app, you will be required to verify your identity. This typically involves providing a government-issued ID, such as a passport or driving license. Ensure that the details match your existing Airtel account information.
Step 3: Request for eSIM Activation
Express your intention to transition to an eSIM and request activation. The Airtel representative or the app will guide you through the necessary steps to ensure a smooth activation process.
Step 4: Receive QR Code
For eSIM activation, you will receive a QR code either in-store or through the Airtel Thanks app. This QR code is crucial for transferring your mobile subscription to the eSIM.
Step 5: Scan QR Code on New Device
Once you have the QR code, proceed to scan it using the camera of your new device. This action links your mobile subscription to the eSIM embedded in the new device.
Step 6: Confirmation and Testing
After scanning the QR code, await confirmation from Airtel that your eSIM activation is successful. Insert the eSIM-enabled device into your phone, and you should be ready to roll. Test your connectivity to ensure everything is functioning as expected.
Advantages of Airtel eSIM Transfer:
The move from a physical SIM to an eSIM with Airtel offers several advantages. Firstly, the elimination of a physical card means greater flexibility in device design, allowing for sleeker and more compact smartphones. Moreover, eSIMs enable users to switch between different carriers without the need for a physical SIM swap, offering unparalleled convenience for frequent travelers.
Conclusion:
In conclusion, the transition to an eSIM, especially with Airtel, represents a significant leap towards a more streamlined and flexible mobile experience. The elimination of physical SIM cards and the simplified transfer process make it an attractive option for those seeking convenience and adaptability in their mobile subscriptions. As technology continues to advance, embracing innovations like eSIMs ensures that we stay connected effortlessly in the digital age. So, whether you’re a globetrotter or simply someone who values simplicity, consider making the switch to an Airtel eSIM for a future-ready mobile experience.

